Follow the steps below to create a backup file with complete verification.
With your company data file open in the Reckon Accounts software.
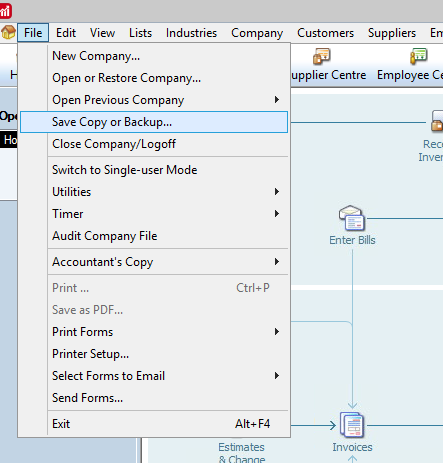
1. Click on the File menu > Save Copy or Backup
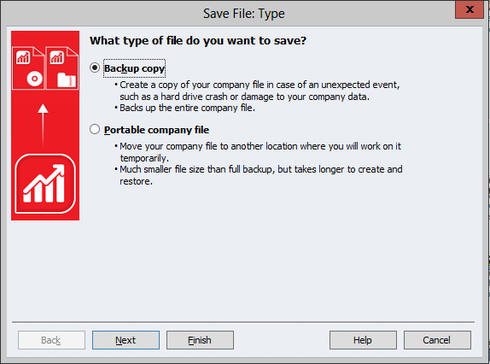
2. Select the Backup copy option and then click the Next button
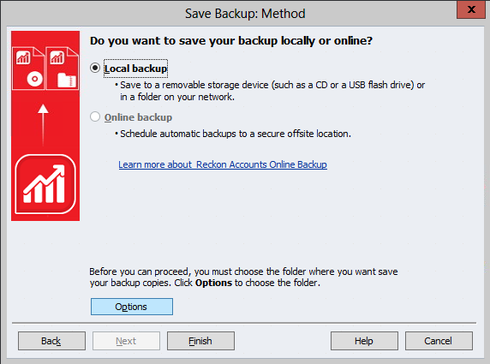
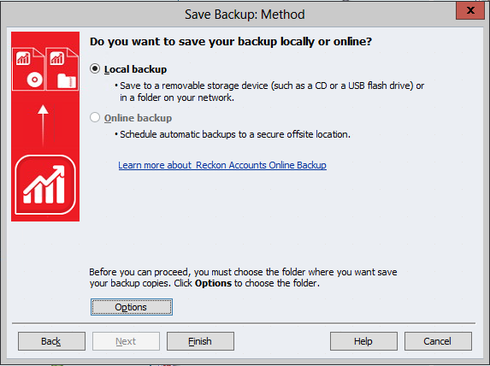
3. In the Save Backup: Method screen, click on the Options button
4. In the Save Backup Copy: Options screen you can configure specific settings.
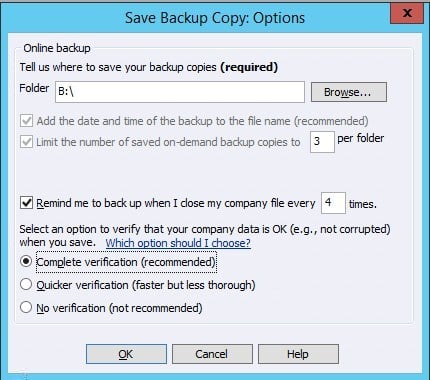
You need to decide where you want your backup sets stored.
You may have for example an external hard disk drive or a specially designated documents folder on your local hard disk drive where you prefer to store your data files and backup files.
Click on the Browse button you can choose the folder location where the backup file will be saved and stored.
ℹ️ IMPORTANT - Select the “Complete verification (recommended)” option and then click the OK button.
5. Once you are back in the Save Backup: Method screen, click on the Finish button to proceed with the backup process.
6. When the backup is completed you will see a similar dialog window like the one below.

7. We recommend that you regularly keep a secondary copy of the backup which is kept on your own local computer or external storage device.
You can download a copy of your backup files from your B:(Backup) drive to your local computer hard drive by following the steps in the article.
DATA RECOVERY: How to download a backup file (*.QBB) from Reckon Accounts Hosted to your local computer
You can then upload a copy to an external storage device or your preferred online file storage platform.